Workspace Management
What is a Workspace?
Workspace is the dashboard where the user can create and manage data sources, and aliases, type their queries, generate results, and manage users. The entities associated with a workspace like Datasource, Alias, and Saved Query are specific to that particular workspace and are not accessible in others.
View Workspaces
Upon log in to the application, users will see a list of accessible workspaces. These workspaces include those that the users have created or have been invited to collaborate with.
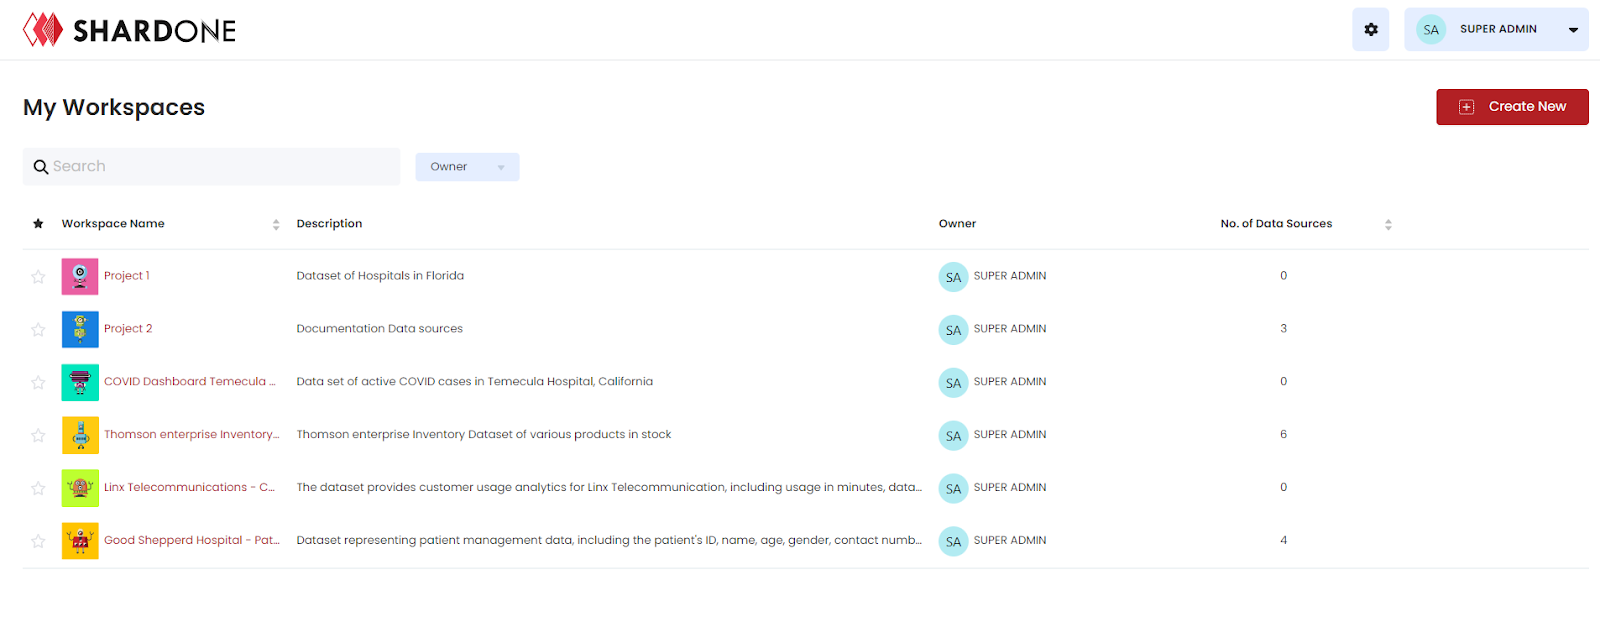
The platform provides a search option based on name and description, and sort options on workspace name, and no. of data sources. They can also be filtered by the owners of the workspaces.

Steps to create a Workspace
- To create a workspace, click on the ‘Create New’ button on the dashboard.

- On clicking the button, a new tab opens, where the user can add the Workspace Name & Description and Save the new Workspace.
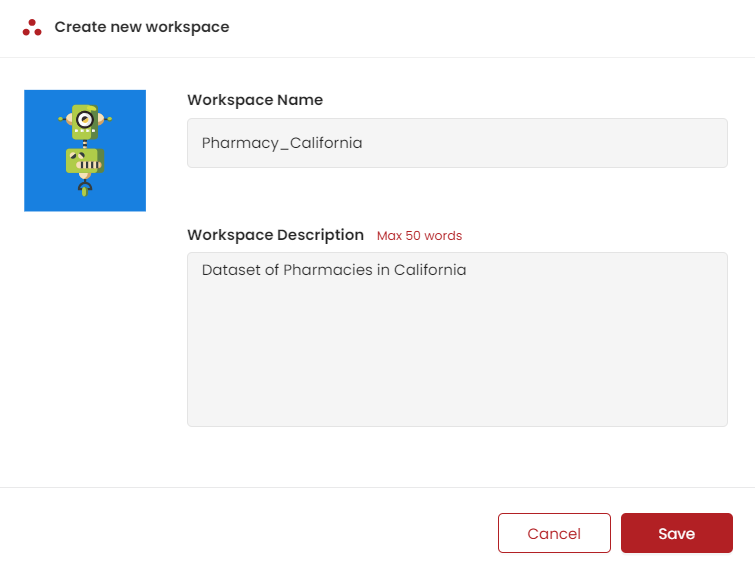
- On creating a new workspace, users will be redirected to the Query Composer, where their queries can be entered. However, before running the queries, the data sources with which the queries will be made need to be set up.
Favourite a Workspace
To facilitate smooth navigation through various workspaces, ShardOne provides users with the capability to designate up to 4 workspaces as ‘Favourite’. Users can mark any workspace as ‘Favourite’ by simply clicking on the star icon located next to it.
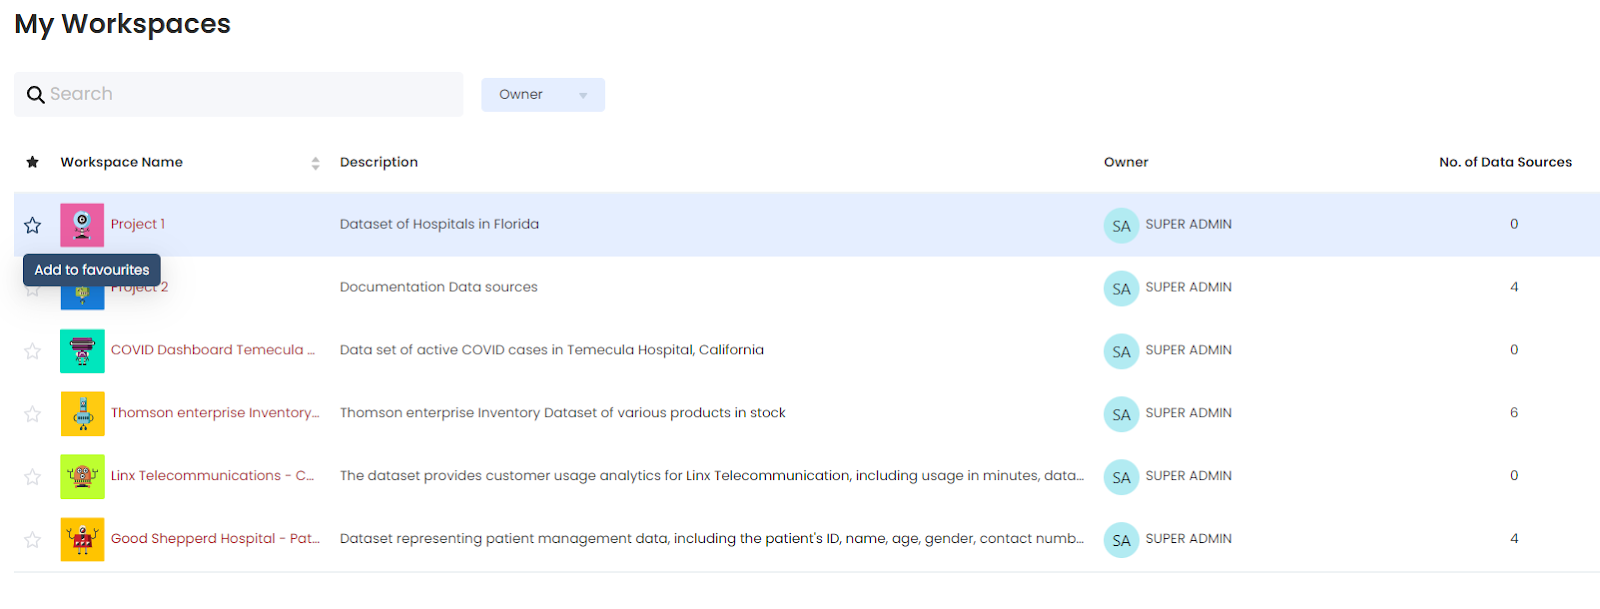
Switching between favorite workspaces doesn't require accessing the main dashboard where workspaces are listed. Instead, users can directly click on the navigation option adjacent to the workspace name in the left navigation bar (as shown in the image below).
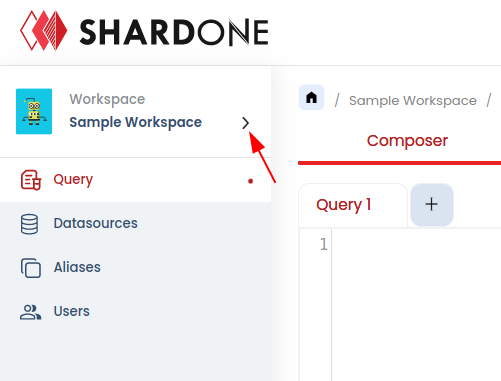
On clicking it, a pop-up listing all favourite workspaces will appear for direct navigation to the workspaces
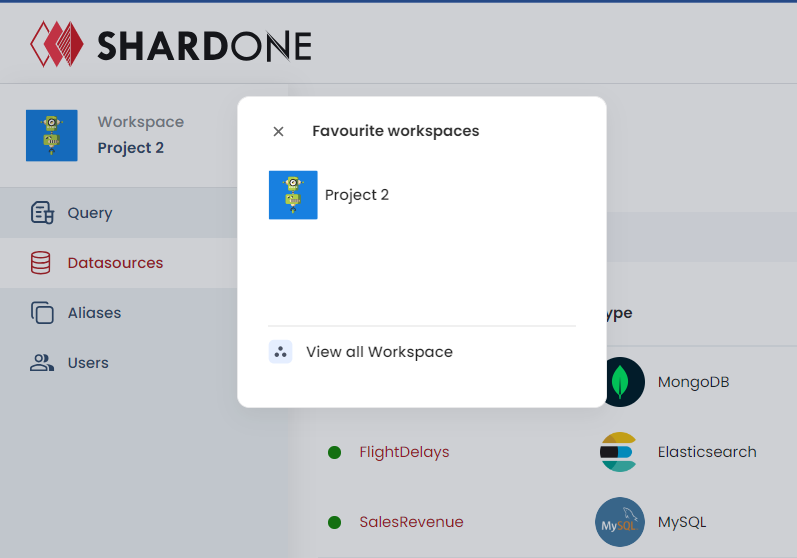
Workspace can be marked as ‘Unfavourite’ as well by removing the star next to a workspace on the list.
Edit a Workspace
Only a Workspace Admin of a workspace can edit the workspace. To know more about permissions, refer to this. The steps to do the same are defined below
- Navigate to the Homepage where all the workspaces are listed and click the edit icon against the workspace that needs to be edited

- Further, a pop-up will open up, where the workspace name and its description can be edited.
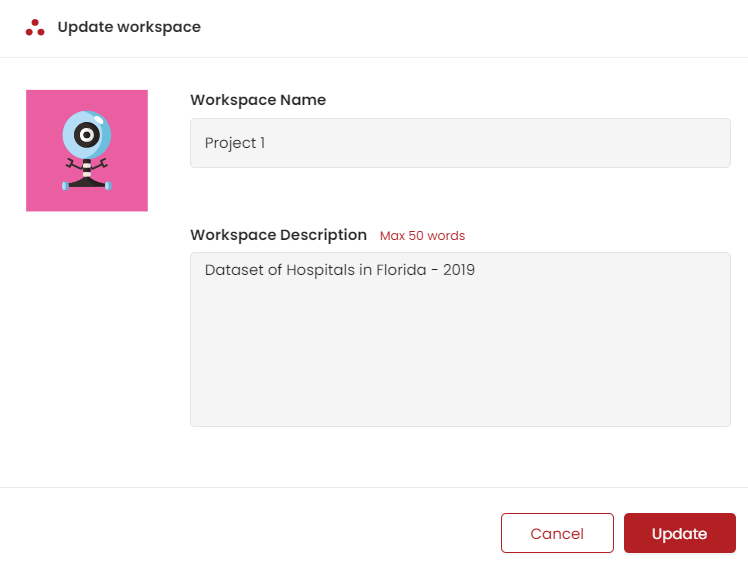
- Once the details are modified, hit the ‘Update’ button.

Delete a Workpsace
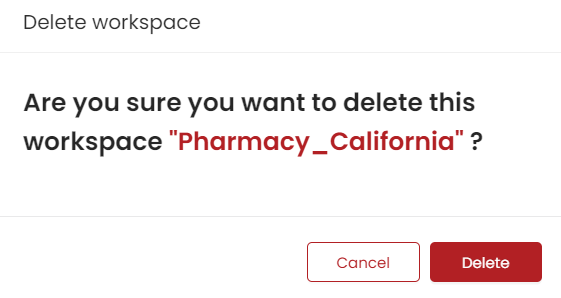
A workspace can be deleted by a Workspace Admin if they no longer wish to retain the same. Note that this action will lead to the deletion of the workspace for all the users who have access to this, it is not an action that is specific to an individual. Also, this action leads to a permanent deletion of the workspace and all associated details.
The steps are:
- Navigate to the Homepage where all the workspaces are listed and click the delete icon against the workspace that needs to be deleted.

- When this action is taken, a confirmation pop-up will be displayed. If the action is certain, click the ‘Delete’ button.
