User Management
In this tab, the users that have access to the workspace are listed along with their names, workspace level roles, email addresses and status.

Users can be searched based on their names and email addresses, sorted based on name and status, and filtered by role and status.

There are 3 User Roles in the platform - Workspace Admin, Data Source Admin, and Analyst, each having its own set of access and permissions which are defined here.
How to Add Users?
To add a new user,
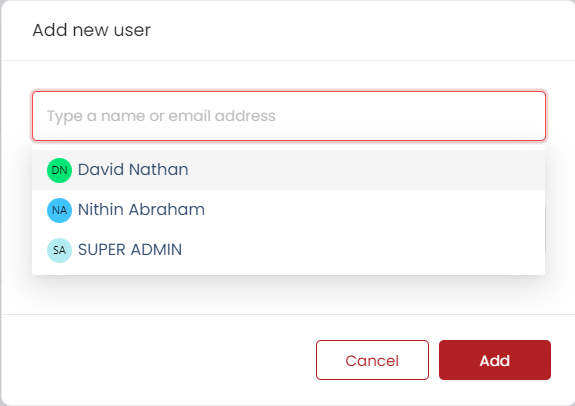
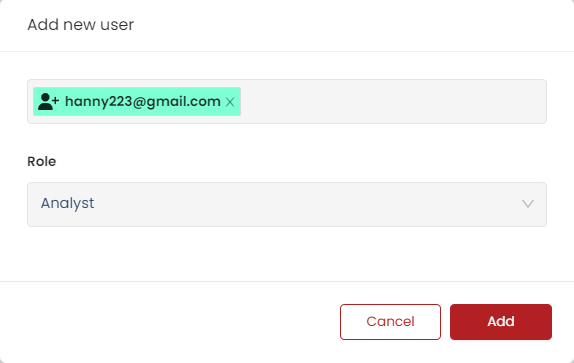
- Click on the ‘Add User’ button. 2.Select the users to add to the workspace from the dropdown and choose the ‘User role’. Note that, for all the selected users the role will be the same as the chosen one. Click on ‘Add’.

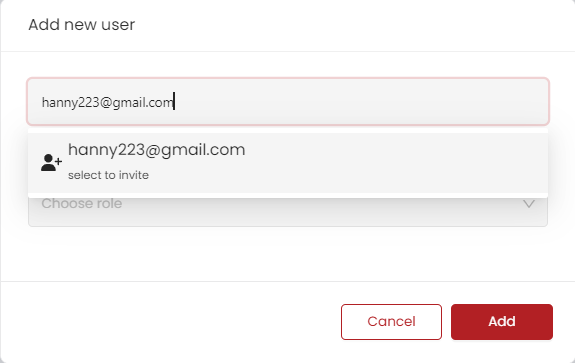
If the user is not present in the dropdown, it means that the user is not invited to the application. In this case, they can be invited by entering their email address. Choose a suitable role for them as well.

Click on ‘Add’ to invite the user to the workspace.

Any user invited to the platform through a workspace will have the application user role set to ‘User’ by default. This can be changed to the user type to ‘Super Admin’ with administrative control.
How to Edit a User’s Role?
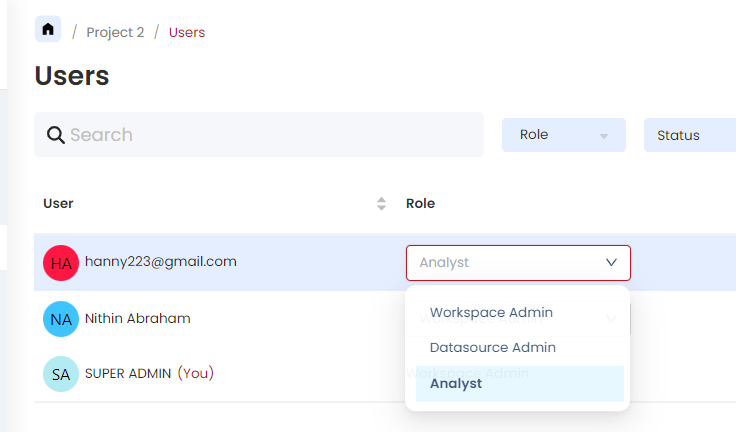
There are 3 User Roles in a Workspace - Workspace Admin, Datasource Admin & Analyst. A user role can be changed within the workspace.
To change the User Role, click on the user role drop-down next to the User and choose the desired role.

The platform provides the search and sort users(ascending/descending) option. The users can also be filtered by
Role

Status
